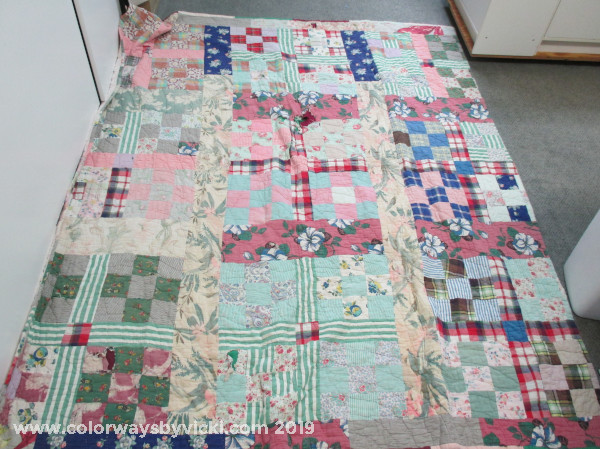
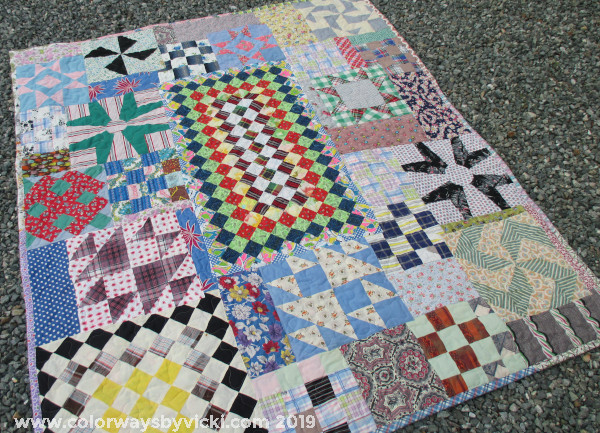
The quilt on the left is my over-loved childhood quilt that was made by my Great-Grandmother, Flora Rakes. It was completely worn out but I could not get rid of it. One day I realized that I could “fix” it by using my collection of all of Flora’s quilting supplies and orphan blocks. I made this “new” quilt for my brother who loved his Flora quilt to shreds.
Before I get into the background of this project I just want to point out that this project would have never happened without bloggers. I’ve been watching Carole do some miraculous restorations on old quilts and I’ve always been inspired.
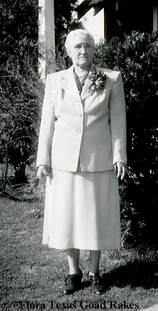
This series of posts are about a quilt made by my Great-Grandmother, Flora Texas Goad Rakes. She died at the age of 80 in 1968. I was almost 8 when she died and I do remember her a bit. I mostly remember her sitting in her rocker with a tin of supplies hand piecing quilt blocks. She also wasn’t terribly tolerant of having urchins running around her. But she was a quilter and she made quilts for everyone. If you got married you got a double wedding ring. All of her Great-Grandchildren also got quilts.
Here’s another fun blog tidbit. Through my blogging friendships I learned that Karen Goad and I are related through this lady and Karen’s husband. Apparently all Goads from Virginia are related.
This project started with me rummaging in a closet and finding (again) my childhood quilt that Flora made. This is the quilt I slept under until I went to college. It has holes in it and is very worn but I just can’t throw it out. I’ve been waiting for a idea that might inspire me to cut it up and make it into something else.
My quilt is heave but my oldest brother, Eddie’s, quilt was even heavier. About 10 years ago he asked me to repair it but every single fabric was worn out – front and back. During a previous repair we learned that his quilt was heavier because it actually had an old whole quilt as the batting. He had to give up using his several years ago and he’s still bummed about it. After watching Carole repair quilts I wondered if I might actually be able to refurbish my quilt and give it to my brother. (I’ve reached a point in my life where a super warm quilt at night isn’t comfortable anymore.) I didn’t want to spend too much time because, clearly, all of the value in this quilt is totally sentimental.

This quilt was seriously worn.
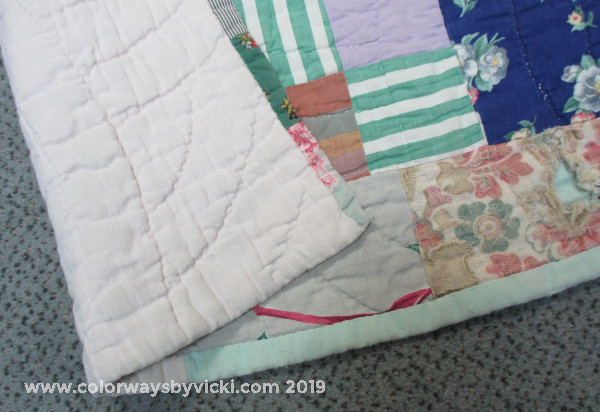
Now I slept under this quilt for years and years and I never noticed how she did the binding. On the sides the top is folded to the back. Top and bottom have the back folded to the front. This is why I’m always harping on people who are overly self-critical on themselves. Once you accept that the gift recipients only care about 2 things, color and comfort, you can stop worrying about the piecing, quilting and binding precision.
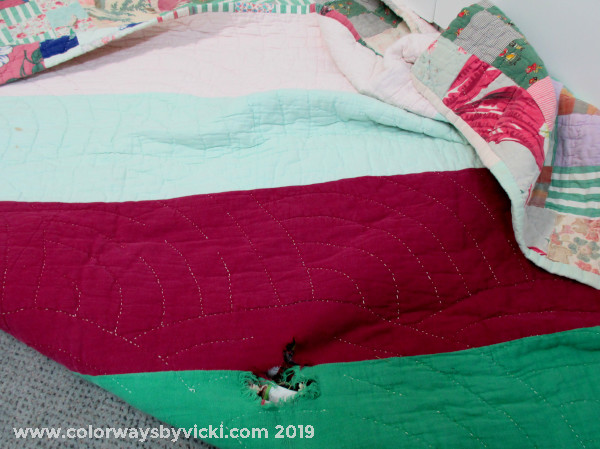
Other than 2 holes, the back is in good shape. The fabric is loosely woven and very soft.
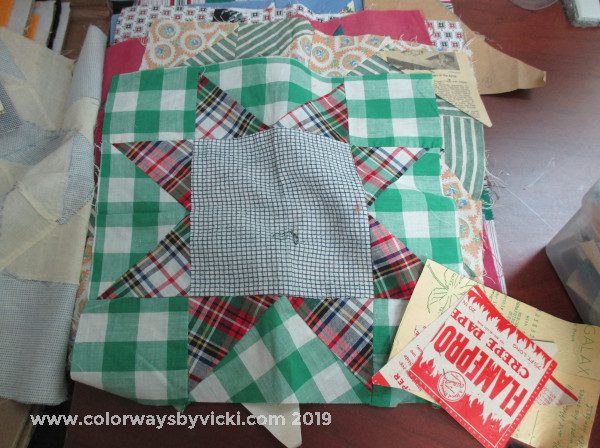
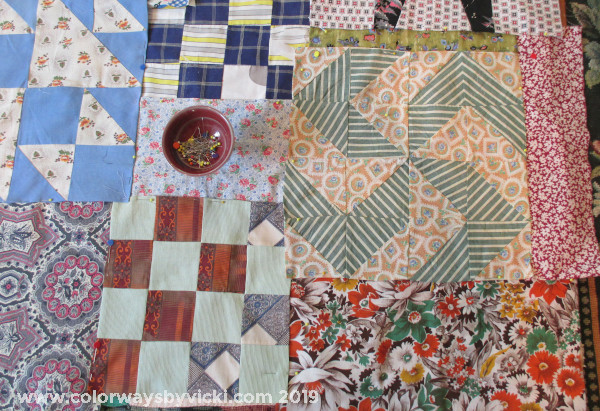
I remembered that I had a supply of Flora’s orphan blocks. I think these were her pattern blocks. She would make up a sample block and pin the paper patterns to the block. My Aunt gave these to me years ago along with some quilt tops and other blocks. I think I can use these to patch the roughest areas of the quilt.
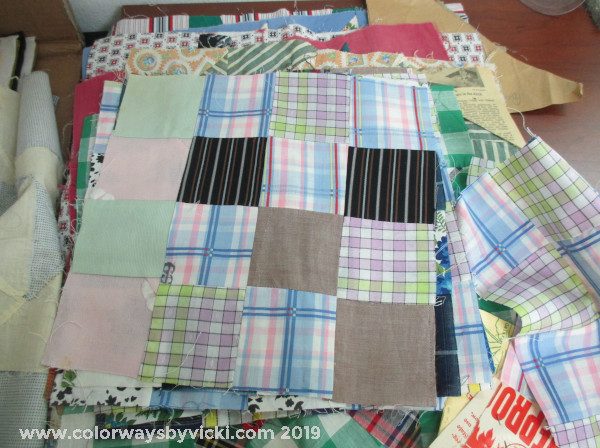
There were also a stack of scrappy 16-patch blocks. I took that night to think about whether I really wanted to do this and how I might go about it.
I decided that the logical second step in this quilt was to work on the back. I had 3 areas of holes with one of the biggest right in the center. One corner had several holes that could be covered with 2 patches.
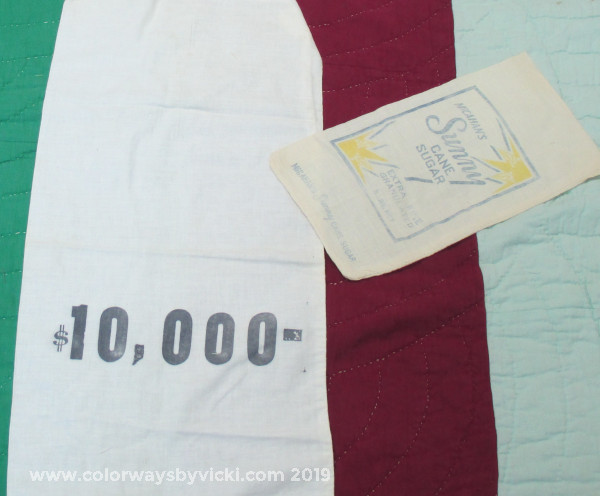
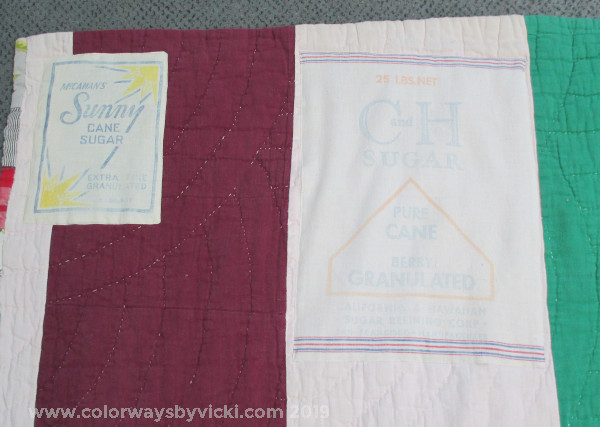
I could have probably found some hand dyed fabrics that would have matched the backing color closely but I really wanted the patch fabrics to be as soft as the backing fabric. That’s when I remembered that I had a stash of “white” feed and sugar sacks.
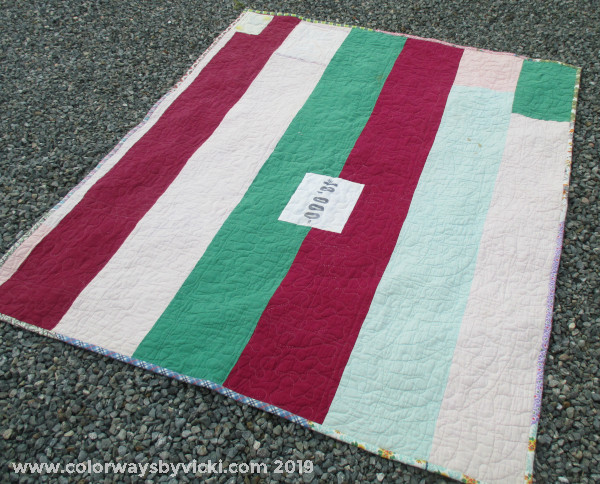
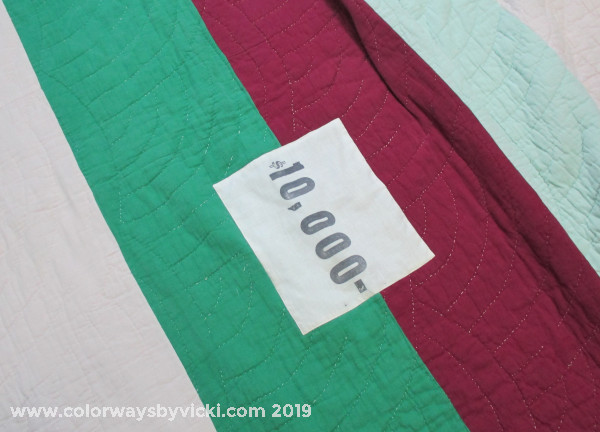
I was excited to find this bag printed $10,000 plus a couple of sugar sacks with the printing still visible. I decided to use them double layered for stability. I simply cut out a patch and pressed the raw edges under and topstitched them to the quilt.
If you can’t match a patch them make it stand out as much as possible! Now it was time to do some batting repair.
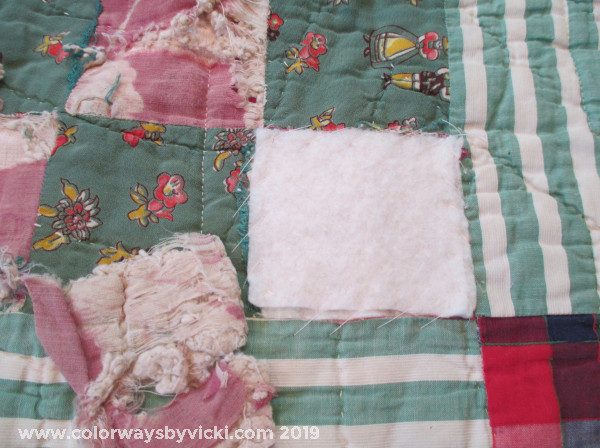
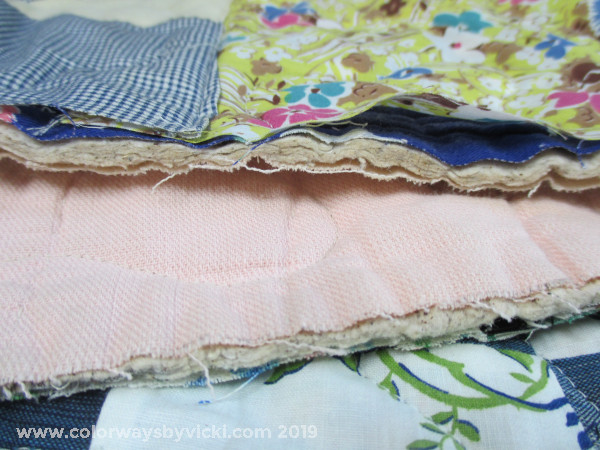
I don’t know what batting looked like when Flora made her quilts but it’s thick and heavy and I don’t know how she hand quilted through it. I cut out the bad areas and basted in 2 layers of scrap batting to approximate the thickness of the original. It took a couple of hours to fix the batting.
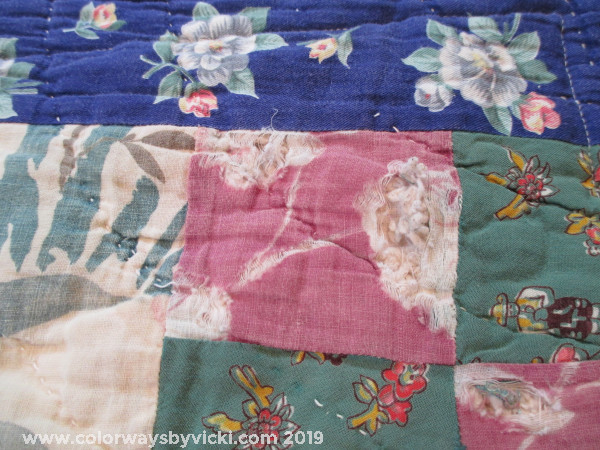
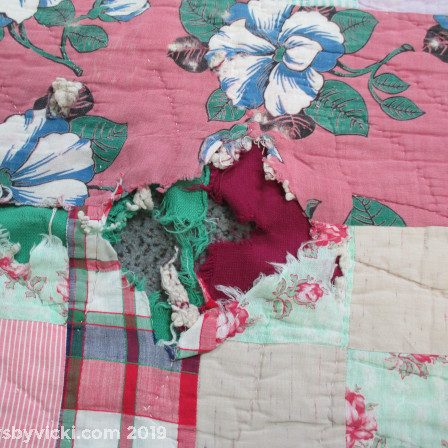
While I was up close and personal with the quilt I noticed this fabric throughout the quilt. I don’t know what color the floral image was but the dye ate through the fabric all over this quilt.
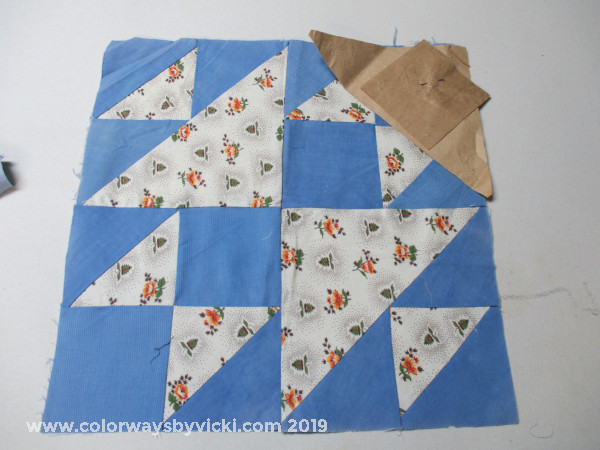
Now it was time to get serious and patch the worn areas of the front and use as many of Flora’s blocks as possible. Each block was like this and had paper pattern pieces pinned to the corner. None of these blocks were square and several weren’t flat so piecing anything was out of the question. Instead I pressed under a 1/4″ (more or less) edge. No worrying about points or straight edges.


Most of the patterns were on brown paper bags but I did find a few amusing newspaper clippings.
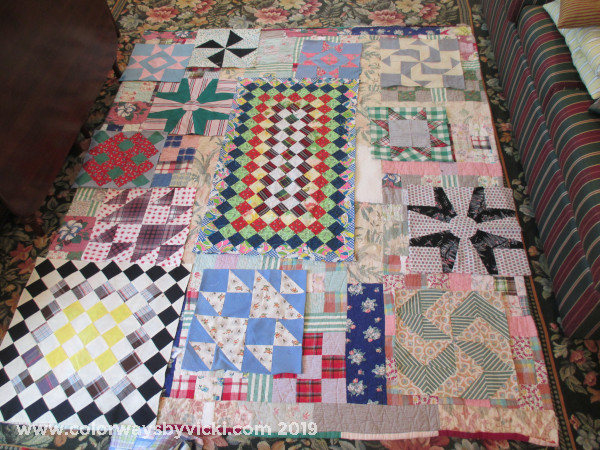
I spread the quilt in the living/dining room floor. Flora made several Trip Around the World quilts and apparently she was starting 2 more. She didn’t strip piece these like we do. No. She worked it in rounds one square at a time. You can see one big white patch beside the center panel. That’s where the $10,000 patch is located on the back and I covered it with a big chunk of batting.
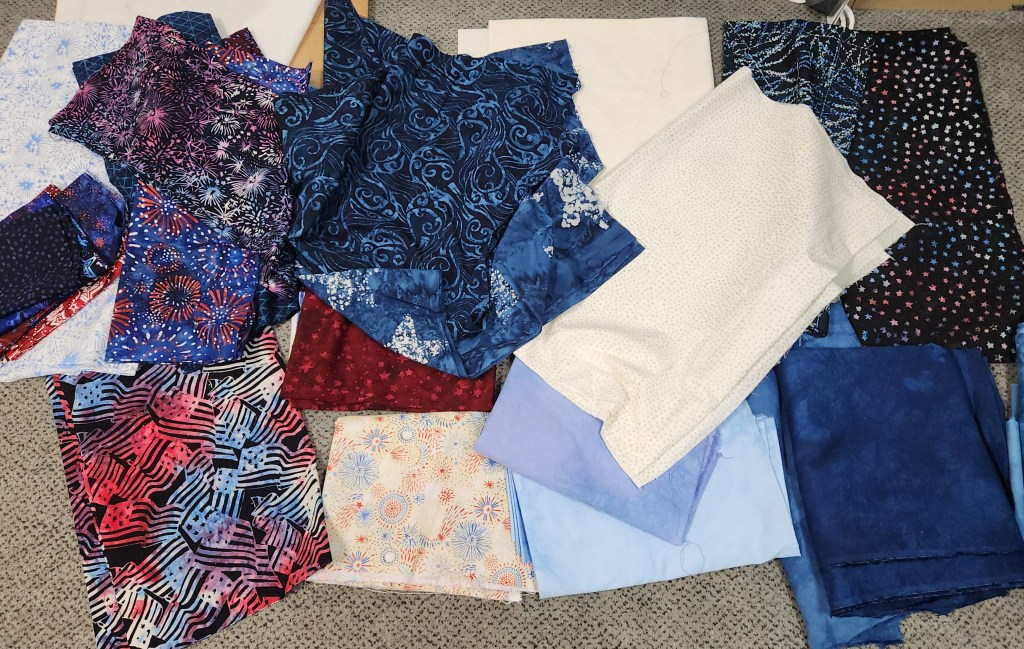
Next I used the 16-patch blocks to connect things together. It was at this point that I decided that the entire quilt needed to be covered. I have a pretty good supply of feedsack fabrics and auditioned using only one print for all of the open spaces but it just didn’t excite me. I needed to fully invest in scrappy.
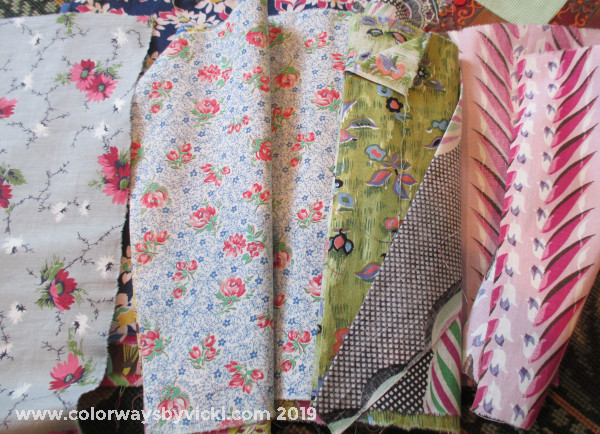
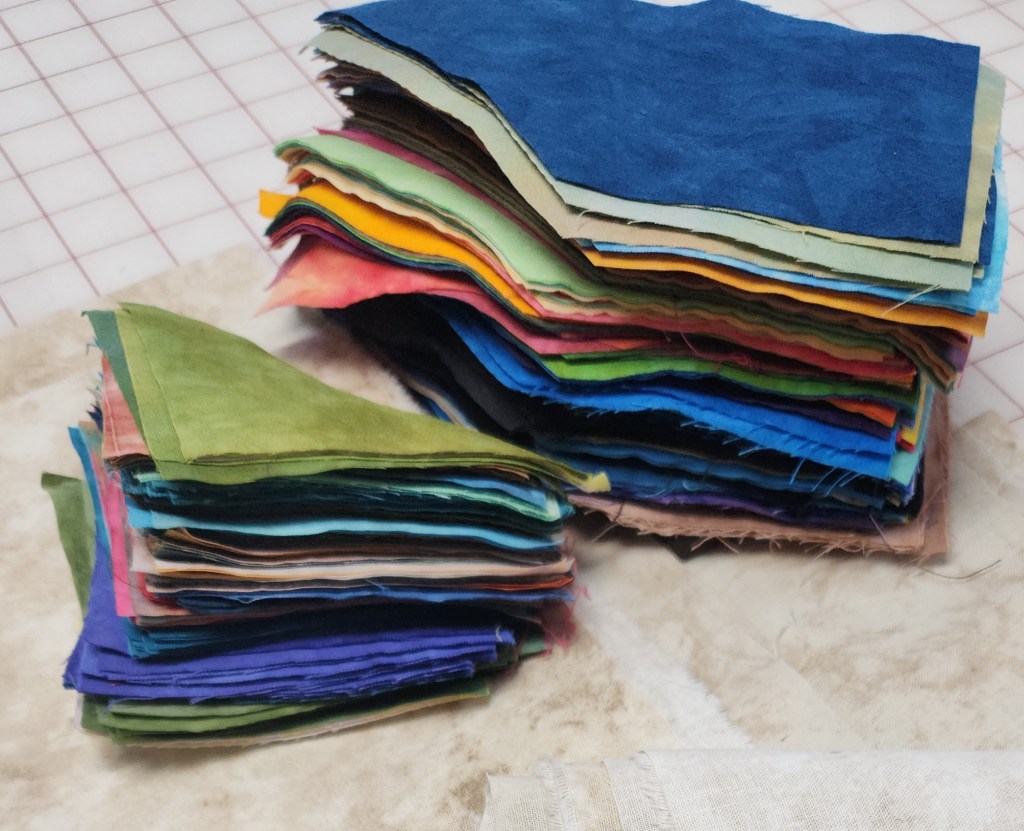
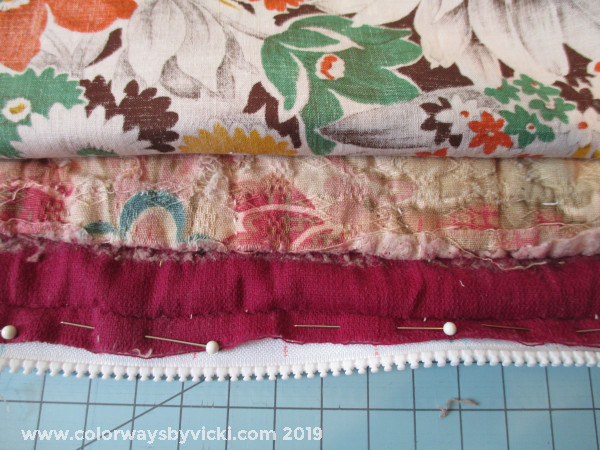
Deep in my stash was a set of fat eighths of vintage fabrics. I’m pretty sure that these are real vintage but, if not, no matter. There’s a ton of variety and the sizes are perfect.
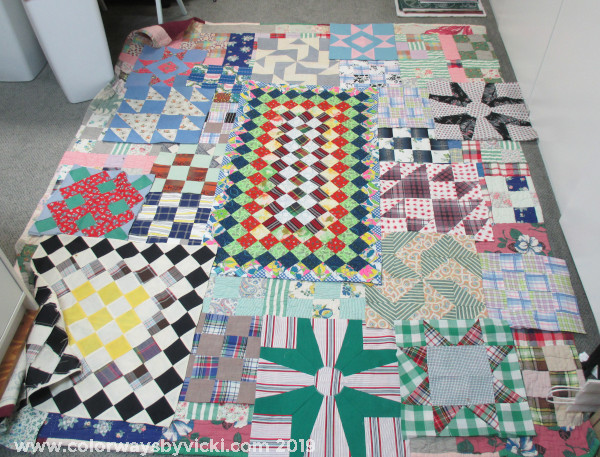
I started at one end pinning the blocks in place and as I did I tucked in the fabric chunks. I did not worry about how one block overlapped another. You can see that this windmill block overlaps onto 2 16-patch blocks. I didn’t even cut away extra bulk. I did have to go back and re-pin some of it because I remembered that I was going to load it on the longarm so I needed the pins to all be horizontal to the edge I would be loading on the machine.
Fortunately, Flora bound her quilts by wrapping the extra backing to the front. That gave me just enough fabric in that binding to pin to the zippers. As I rolled the quilt I would unfold the edge, pin to a strip of fabric and then I could use my clamps. It was perfect.
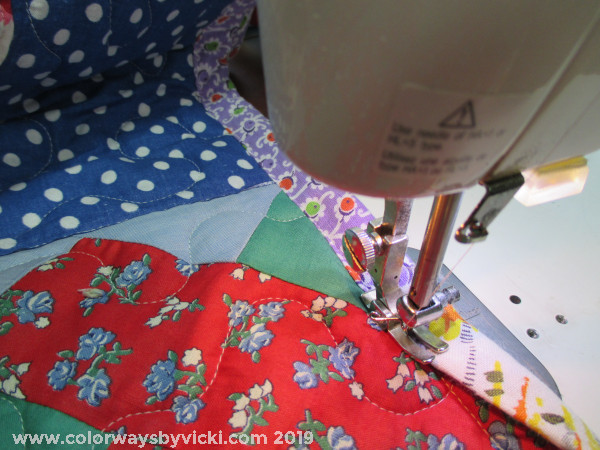
This utility quilt got utility stitching. I nailed down the edges of every block with straight stitching and then did a stipple in each block. I found that it was helpful to use my ruler table on the longarm because I had to hand manipulate the edges a bit and the flat surface really helped. It only took a couple of hours to do all of the stitching/quilting. I used an off-white in the needle and a tan in the bobbin. The tan virtually disappeared into the back.
This is a thick quilt so a 1/4″ binding wasn’t going to work. It would feel like cording. Flora used wide binding so I would too.
Scrappy binding in feedsack fabrics, of course. I machine stitched the binding because a utility quilt can get a utility binding.

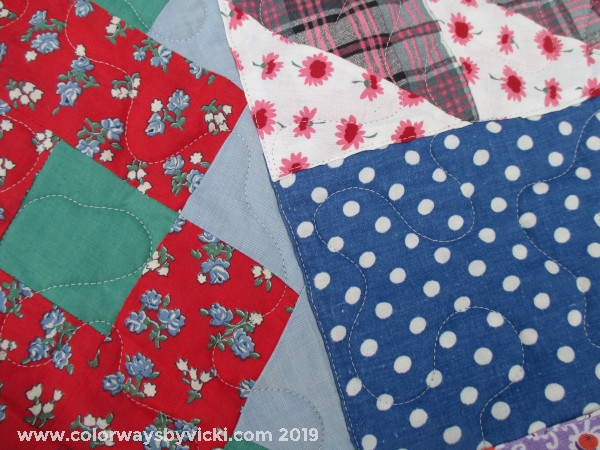
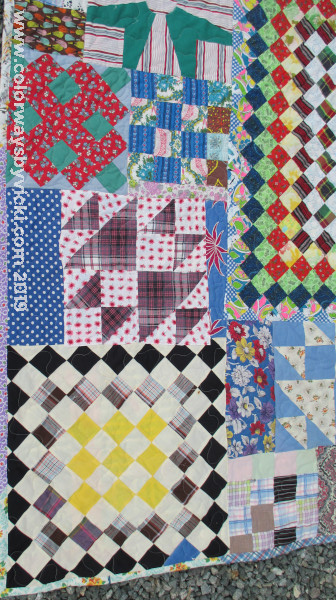
I am beyond thrilled with this quilt. It looks like something Flora might have made with anything and everything thrown in to make it work. I’m so glad I covered every inch of the original quilt. It really works with the chunks of other vintage fabrics. I took this photo before I washed the quilt (first time 40 years) because I was afraid it would fall apart. But it came out of the was in great shape.
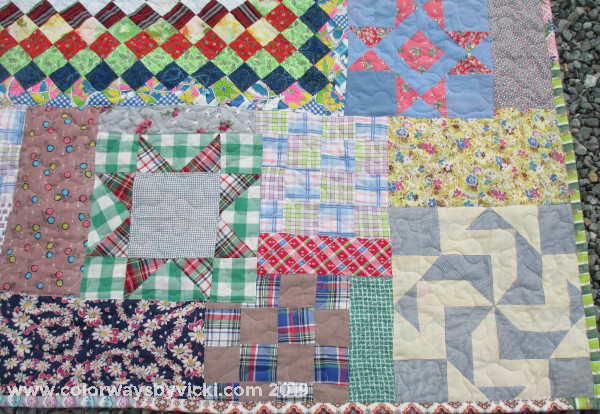
Here are some close ups of each section of the quilt. Flora loved that Dutchman’s Breeches block. I had 2 of those and neither was square.


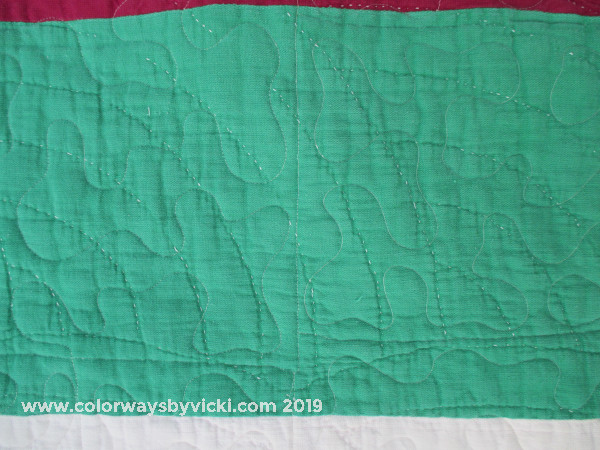
You can see how my thread color completely blended into the back of the quilt. You can still see Flora’s Baptist Fan quilting and my stipple doesn’t looks as awkward as I thought it would.